
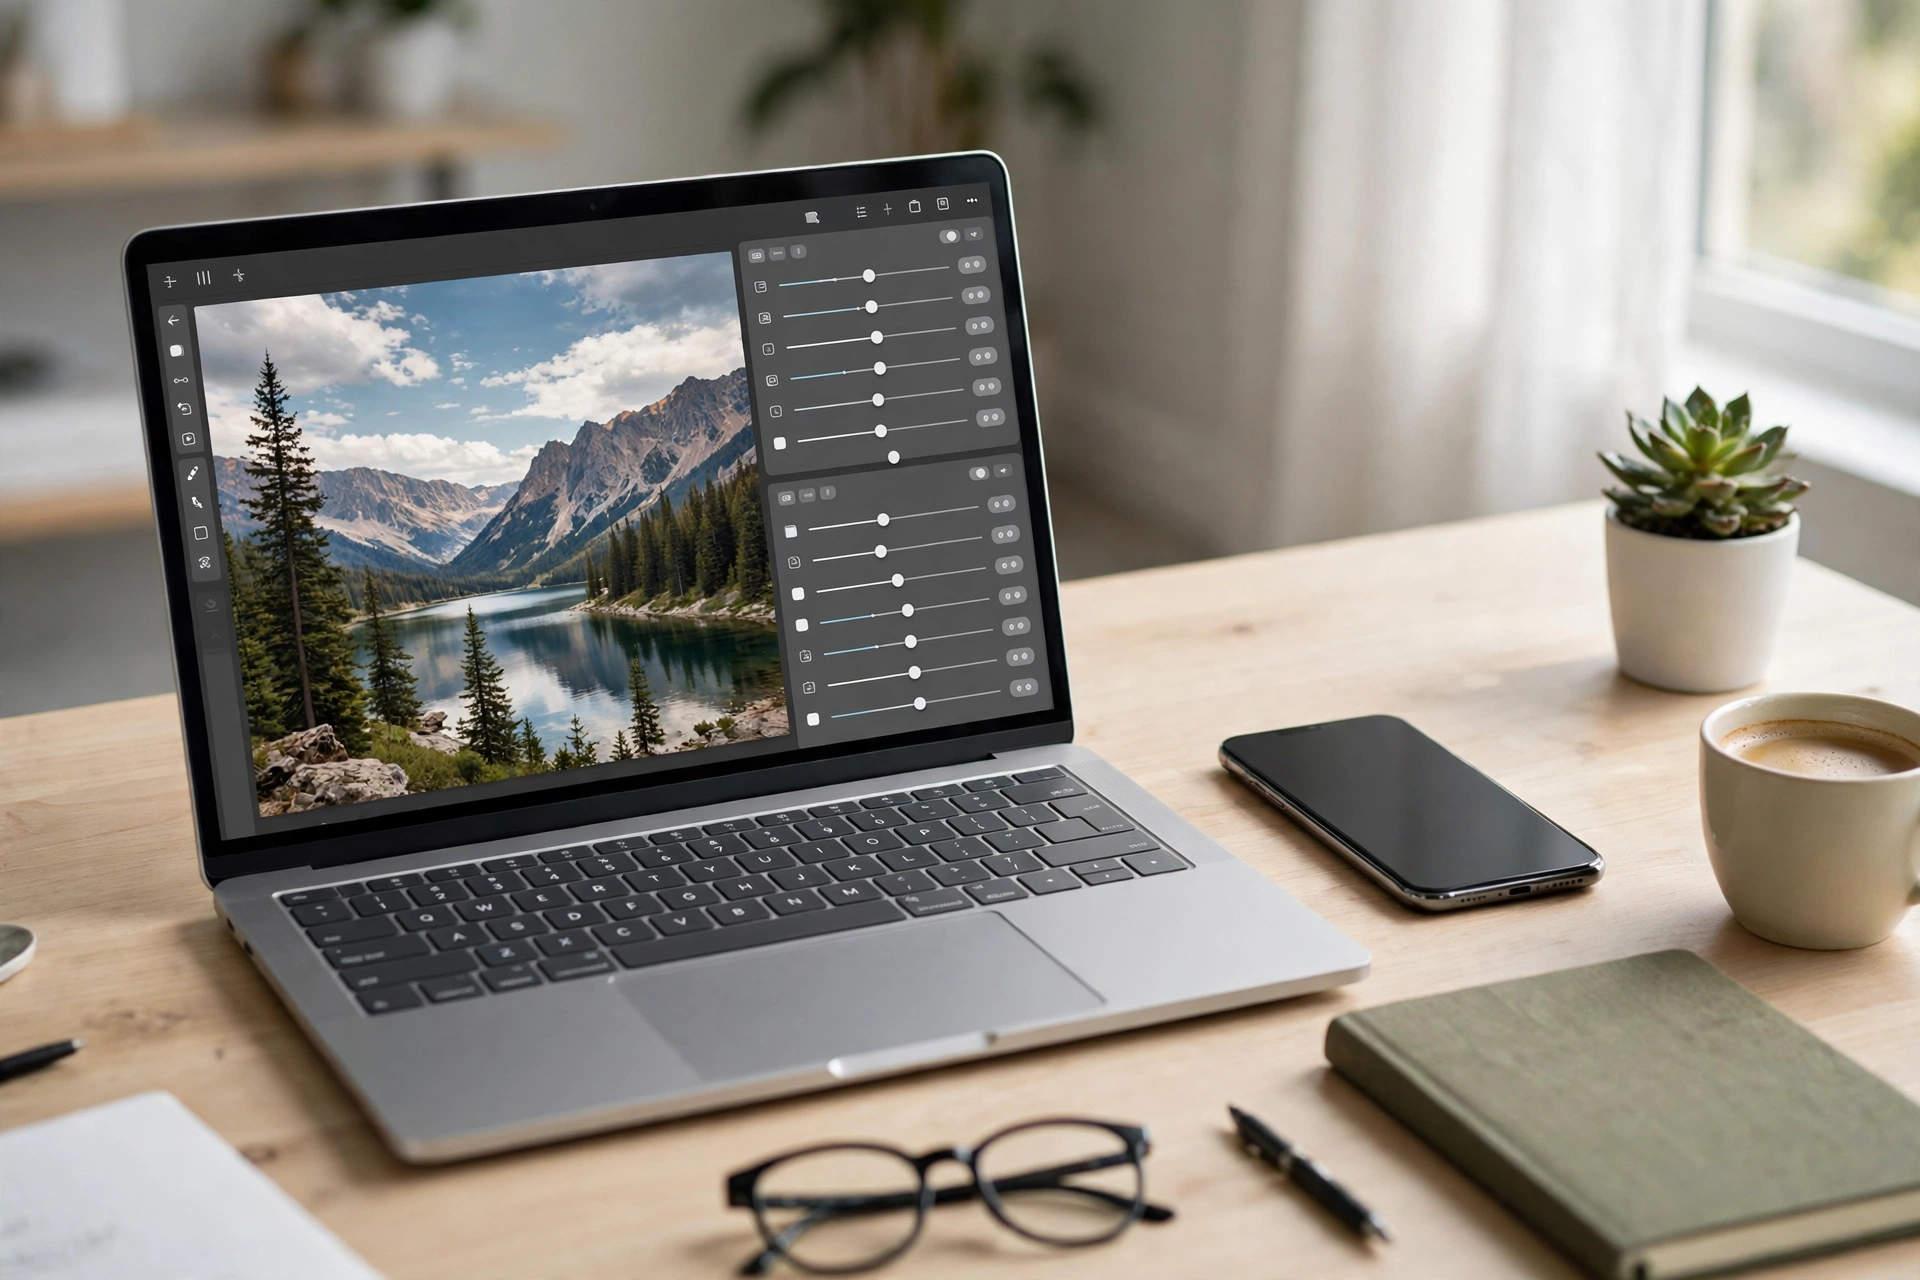
A free AI photo editor can turn a dull phone photo into a bright, clean image in seconds. It can remove a stranger from the background, lift a dark face, or sharpen a soft shot. This UK guide shows you what these tools really do. It also explains what “free” actually costs you, and how to raise the resolution of an image without ruining it.
What a Free AI Photo Editor Actually Does
A free AI photo editor uses machine learning to change your picture for you. You describe the fix, or you tap one button, and the tool does the work. First, it can remove the background from a portrait or a product shot. Next, it can erase an object, a person, or a bin from the scene. It can also brighten a dark photo, fix the colour, and sharpen edges.
In fact, the best-known tricks are background removal, object removal, and one-tap fixes. Some tools also upscale a small image, extend its edges, or swap a dull sky. For example, a grey-sky holiday snap can gain blue sky in one tap. However, the tool only guesses what should fill the gap. So treat every AI edit as a smart guess, not a true record.
What “Free” Really Means in a Free AI Photo Editor
Free rarely means free for ever. Most tools give you a small allowance of edits, then ask you to pay. For example, a free plan may allow ten exports a month, or a set number of credits. After that, the tool locks the best features behind a paywall. In short, treat a free plan as a trial with no end date.
Next, check the export limits. Some free plans add a watermark to every image. Others cap the export size. Above all, read the terms before you upload. Some services keep your photos to train their models. If the terms are unclear, do not upload anything personal.
How to Pick a Free AI Photo Editor
Start with the job, not the tool. First, list what you need most: background removal, object removal, better light, or a larger image. Next, match the tool to that job. A tool built for product shots beats a general editor at cut-outs, while one built for portraits beats it at skin and light.
Then test it with a real photo from your own phone. Check three things. First, does it export without a watermark? Next, does it keep your photo at a useful size? Finally, does it ask for an account or a card? If the first two answers are no, try another one.
Also check where your photos go. A browser-based tool keeps your pictures on your own device. An upload-based tool can store them on its server. Web tools suit one-off fixes. Apps suit weekly editing, and many work offline.
Good Photo Editing Apps for Quick Fixes
Good photo editing apps for quick fixes share three traits. They open fast, they need few taps, and they save at full size. First, look for one-tap enhance and auto-fix. These lift a dark photo and fix the colour in seconds. Next, look for a healing tool. It removes spots, wires, and bins with a brush stroke.
Then check the crop and straighten tools. A wonky horizon ruins a good photo. A quick fix straightens it. Also check the export settings. The app should save at the original size, without a watermark. Finally, try the free version for a week before you pay. If it nags you to upgrade on every tap, delete it and try another.
Good Photo Editing Apps for Portraits
Portraits need a light touch. Good photo editing apps for portraits offer skin smoothing that keeps texture. They also offer light and shadow controls, so you can lift a face without washing it out. For example, a soft light lift beats a harsh filter every time. Next, look for a background blur tool. It keeps the face sharp and softens the mess behind it.
However, avoid heavy face reshaping. It makes people look plastic, and it can feel dishonest. Instead, fix the light first, then the colour, then the background. In fact, most portraits need only three moves: lift the shadows, warm the colour, and tidy the background. If an app pushes beauty filters, switch them off. A natural portrait beats a filtered one.
Good Photo Editing Apps for Social Posts and Product Photos
Social posts and product photos share one goal: stop the scroll. Good photo editing apps for social posts offer clean templates, quick crops for each platform, and text tools. First, crop to the right shape for the platform. A square suits a feed, while a tall shape suits stories. Next, keep the text short and readable. Small text vanishes on a phone screen.
Product photos need a clean background above all. A white or plain background makes the product stand out. Some tools remove the background in one tap, then add a soft shadow. For example, a plain mug on white sells better than the same mug on a cluttered table. Finally, save at the largest size the free plan allows. A small, blurry product photo puts buyers off.
How to Increase the Resolution of an Image
Here is how to increase the resolution of an image the honest way. First, decide what you need it for. A screen needs far fewer pixels than a print. For a blog, around 1,200 pixels wide looks fine. Full-screen displays need around 2,000. A print needs far more: multiply the print size in inches by 300.
Next, pick the right method. An AI upscaler adds pixels by guessing what should fill the gaps. It works well at 2×, and at 4× for small graphics. A plain resize, in contrast, only stretches the pixels you already have. The picture gets bigger and softer at the same time. So use an AI upscaler for more pixels, and a plain resize only for small changes.
Then upscale once and check the result at full size. Zoom in on faces and any writing. If the text looks wrong, try a lower scale. Finally, save the result as a fresh file, and keep your original.
What Upscaling Cannot Do
Upscaling has hard limits, and honest guides say so. First, no tool can recover detail that the camera never recorded. An AI upscaler predicts plausible detail from patterns it learned. The result often looks sharper, but the extra detail is invented. That matters for evidence and documents.
Next, text and faces stay soft. An upscaler can turn a small sign into gibberish, or change a date. It can also add streaks to an eye or smooth a face into wax. In fact, a second pass makes it worse. Each round invents more detail on top of invented detail. So upscale once, at the scale you need, and stop there. If the original is tiny and blurry, no tool will save it.
Resolution, DPI and Print Size: The Honest Maths
Resolution means pixel dimensions, such as 1,200 by 800. DPI is only a label in the file. It tells a printer how tightly to pack those pixels. Changing the DPI number from 72 to 300 adds no pixels at all. The picture stays exactly the same.
For example, a 1,200 by 800 photo prints at 4 by 2.7 inches at 300 DPI. To print it at 8 by 10 inches at the same density, you need around 2,400 by 3,000 pixels. That means adding pixels, not changing a label. Meanwhile, a poster seen from across a room needs far fewer pixels per inch: around 100 to 150 DPI looks fine. So work out the pixels you need first, then upscale to that size.
A Free AI Photo Editor Workflow That Protects Your Originals
A simple workflow keeps your photos safe. First, back up the original before you edit anything. Copy it to a folder, or to cloud storage, and leave it alone. Next, edit a copy, never the original. If the AI makes a mess, you can start again.
Then work in order: crop, fix the light, fix the colour, and last the AI tricks. This order matters, because each step builds on the last. After that, save at the largest size the free plan allows. Finally, keep the edited file next to the original, with a clear name. A free AI photo editor works best inside this routine. It becomes a tool, not a gamble.
Privacy and Safety: What Never to Upload
Free online editors ask for your photos, so think before you upload. Never upload ID photos, passports, bank cards, or documents. Never upload photos of children to a service you do not trust. Also avoid medical images, addresses, and number plates.
Before you upload, read the terms. Check whether the service keeps your photos, for how long, and whether it uses them to train their models. If the terms are vague, use a different tool. For more on staying private online, read our private browsing guide. Above all, remember that a free service still has to make money somehow. If you pay nothing, your photos may be the product.
Free AI Photo Editor FAQs
Is there really a free AI photo editor with no limits?
No, not in practice. Every free plan caps something: exports, credits, size, or features. Treat “free” as a trial.
Can a free AI photo editor remove a watermark?
It can remove a watermark from your own photo. Do not strip one from someone else’s work. That image belongs to its owner, and removing the mark does not change that.
How can I increase the resolution of an image for free?
Use a free AI upscaler in your browser at 2×, then check faces and text at full size. Upscale once, and save the result as a fresh file.
Will upscaling make a blurry photo sharp?
It can make a soft photo look cleaner, but it cannot restore detail the camera never captured. Text and small faces often stay soft. For a print, start from the largest original you have.
Is it safe to upload photos to a free online editor?
It depends on the service. Check the terms for storage and training use, and never upload ID photos, documents, or sensitive images. When in doubt, edit in your browser, or on your own device.
Do I need a paid editor for good results?
No, not for everyday jobs. A free AI photo editor handles quick fixes, portraits, social posts, and small prints well. Pay only for large prints or batch work.
A free AI photo editor handles most everyday jobs well, if you know its limits. Pick the tool for the job, back up your originals, and keep sensitive photos off free servers.