
A short video catches the eye faster than a still photo. A product that turns slowly, a landscape with drifting clouds, a portrait that blinks once — small motion makes a post stand out. An ai image to video generator free can turn one still image into that motion. Yet the clip it gives you is only raw material. It is short, silent and rough at the edges. The finished video comes from what you do next: you edit clips online, cut the weak frames, add words and sound, and export a video worth sharing. This guide walks through the whole workflow, from still to finished clip.
You need no camera and no paid software — just one good still, a free generator, and a free online editor. The guide covers each stage in order: plan the clip, generate the motion, edit it online, and export it. It also covers the honest limits of free plans, so you can plan around them instead of hitting them halfway through.
AI Image to Video Generator Free: What You Get
A free AI image-to-video generator turns one still into a few seconds of motion. You upload a photo and describe the movement in plain words. The tool then draws the next frames from the still you gave it. What comes back is a brief silent clip, often three to ten seconds long.
What you get back is a starting point, not a finished video. The clip has no title, no captions, no music and no cuts. The first and last frames often wobble, and the middle may drift in a way you did not ask for. That is normal — the edit is where you fix it.
Think of the generator as a camera that shoots one rough take. Your job is to shape that take into something clean: trim the weak ends, keep the best seconds, join the clip with others, then add the words and sound that tell the viewer what to look at.
Plan the Clip Before You Generate It
Start with the ending, not the tool. Decide where the video will go: a social feed, a product page, or a family slideshow. Each place wants a different shape and length — a feed post suits a tall or square clip, while a product page suits a wider one that shows the item clearly.
Next, pick one motion idea. A slow turn suits a product. Drifting clouds suit a landscape. A gentle blink suits a portrait. One idea per clip keeps the motion clean. If you ask for three movements at once, the tool must guess too much, and the result usually looks wrong.
Then prepare the still. Crop it to the shape you planned. Brighten it if it is dark, and straighten it if the horizon tilts. If the still needs cleaning first, our photo editing guide shows how to tidy a photo before you animate it. A clean still gives the generator less to guess, and the motion comes out steadier.
From Still to Motion: Generate the Clip
Open the generator and upload your prepared still. Most free tools ask you to sign in first. Avoid any tool that wants card details before your first clip — a free trial should need no payment details up front.
Describe the motion in one or two plain sentences. Say what should move, and whether the camera stays put or drifts. For example: “The mug turns slowly, and the camera does not move.” Short, plain words work best. Long descriptions confuse the tool more than they help it.
Generate the clip, then watch it twice before you do anything else. Look at the edges of the frame and the parts that should stay still. If the motion looks clean, keep the clip and move on to the edit. If it looks wrong, change one thing — the words, the speed, or the still — and generate again. Two short tries usually beat one long one.
Edit Clips Online: Cut, Join and Shape the Video
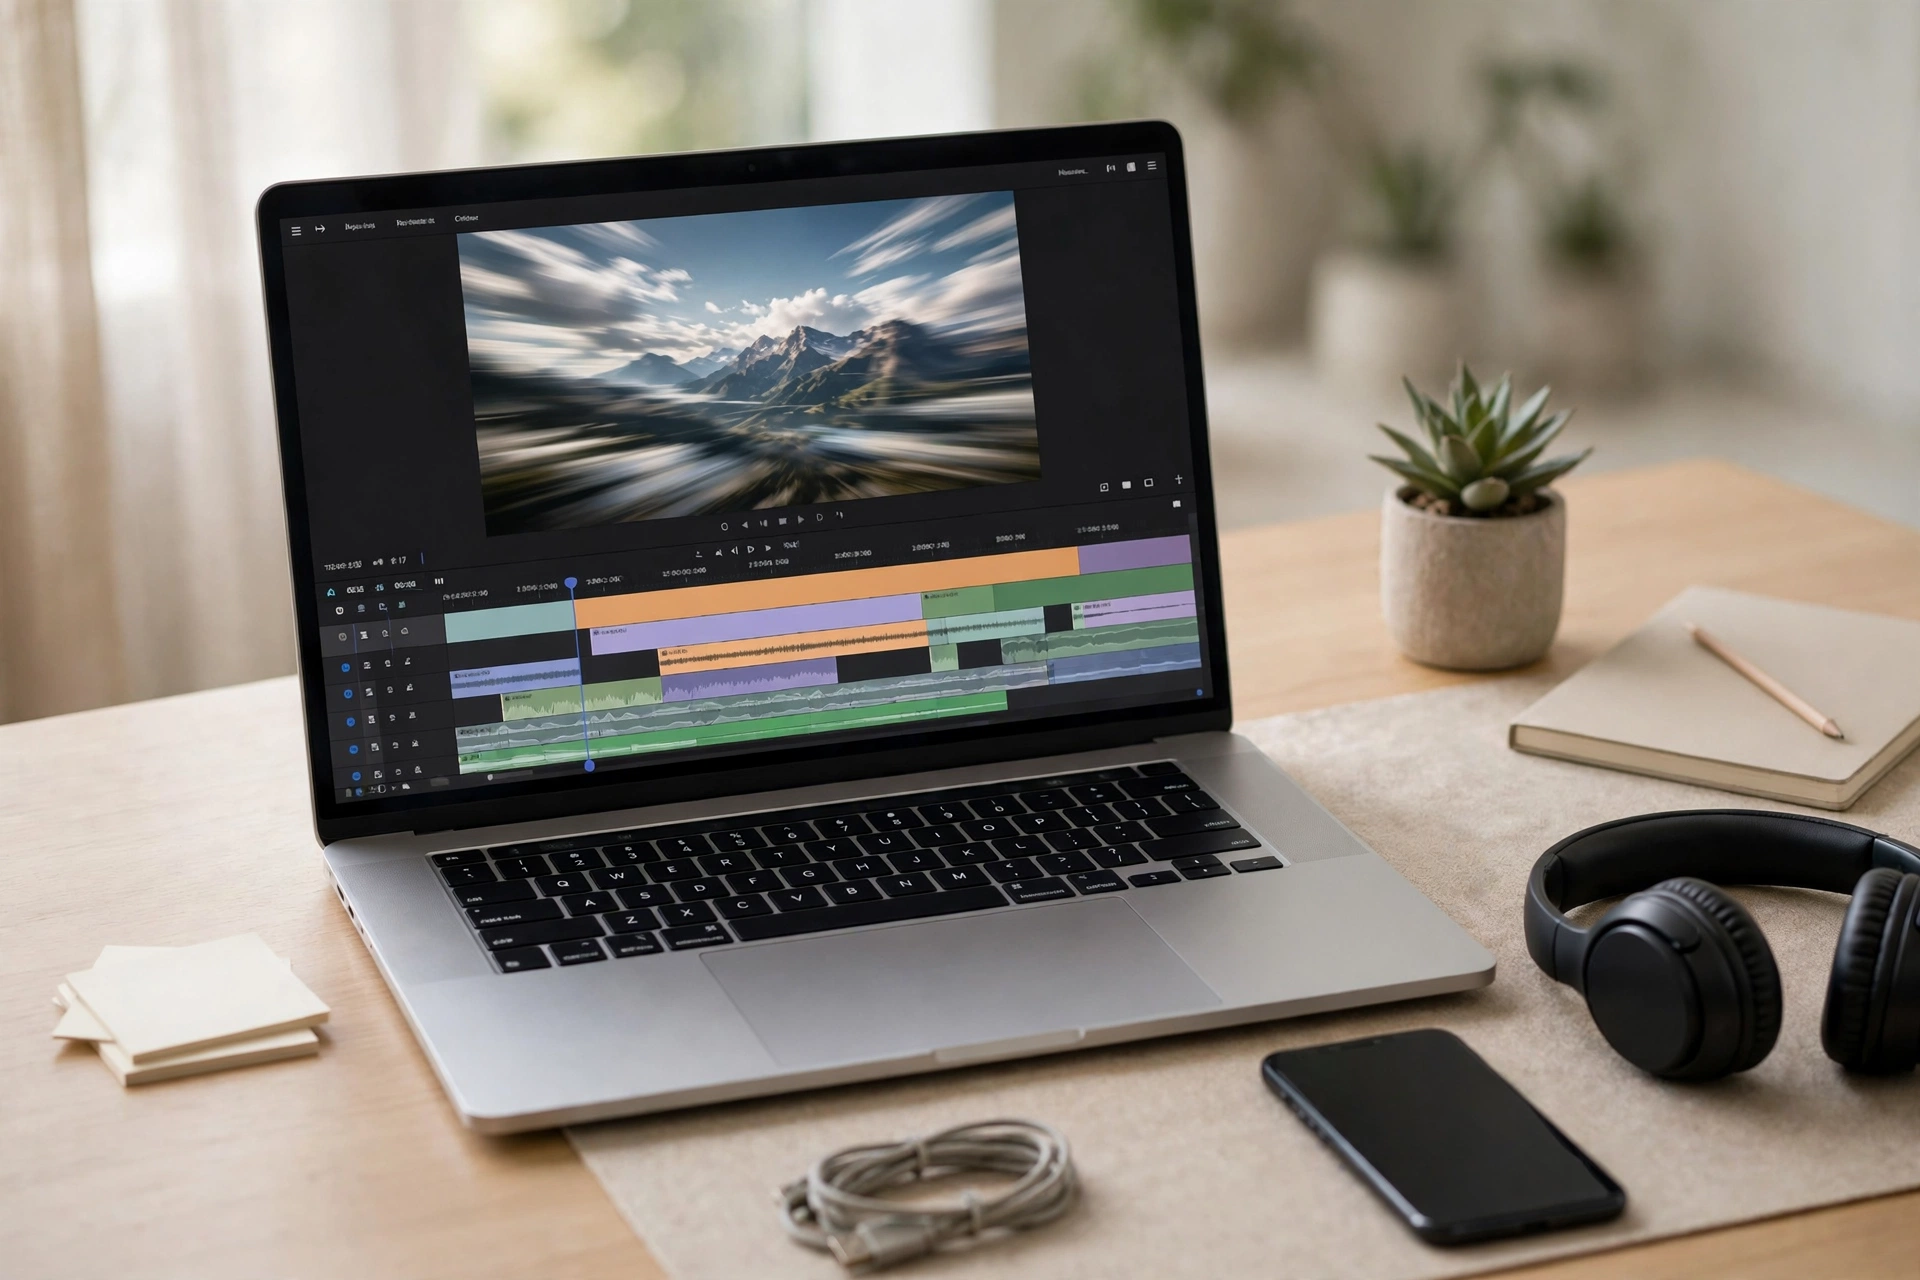
This is the stage that turns raw motion into a video. When you edit clips online, you work in a browser, with nothing to install. You drop the clip onto a timeline, where every change happens. Most free editors give you the same basic tools: trim, split, reorder, and export.
First, trim the weak ends: the first and last half-seconds are where AI motion wobbles most. Cut them away and the clip looks steadier at once. Next, split the clip where the motion changes. If the middle drifts, cut that part out and keep the clean seconds on either side.
Then join clips in order. Two or three short clips often tell a better story than one long one. Put the strongest clip first, because viewers decide in the first second whether to keep watching. Drag the clips into order and check the joins: a hard cut suits a product demo, while a short fade suits a calm landscape.
Finally, set the shape for the place it will go. A tall shape suits a phone feed, and a wide shape suits a product page. Crop once, at the end, so every clip shares the same shape. If you crop first and trim later, you may have to crop twice.
Titles, Captions and Sound: Finish the Clip
A silent clip needs words on screen. Add a short title at the start — a few words that say what the viewer is looking at. Keep the text large and on screen long enough to read. Small text vanishes on a phone.
Captions help too. Many viewers watch with the sound off, so a line of text under the action carries the message. Keep each caption short, with one idea in it.
Then add sound. A short music track lifts a plain clip, and a fade at the end stops the sound from cutting off suddenly. Keep the music quiet under any words. If the clip has no words, music alone is enough. Finally, watch the whole video once through before you export it.
Export the Finished Video Without Surprises
Export is where free plans show their limits. Pick the size that fits the place you will post it: a phone feed looks fine at 720p, while a large screen wants more. Free plans often cap the export size, so check the setting before you press export.
Next, check the watermark rule. Many free tools stamp a small logo on the corner of the clip. Some tools remove the mark on a paid plan, while others leave it on every free download. If the mark would ruin the video, find out before you spend your credits, not after.
Export once, then watch the full file before you share it. Check the start, the joins and the end for a frozen frame or a jump where you trimmed. If the export looks clean, save it with a clear name and keep the original still beside it. If you ever need to re-edit, the still is your starting point.
AI Image to Video Generator Free: The Limits That Shape Your Workflow
Every free plan caps something, and the caps shape how you work. First, credits: some plans refill daily, while others give you one batch that never comes back. A refilling plan suits regular posting, while a one-off trial suits a single test.
Second, clip length and size. Free clips last only a few seconds, and free exports often top out at 720p or lower — fine for a phone feed, but soft on a large screen. Plan short clips, and the cap will rarely bother you.
Third, commercial use. Some free plans cover business use, while others keep free clips for personal projects only. Read the terms before you use a finished video in an advert or on a client page. Finally, waiting: free accounts often sit in a queue behind paying users, so a render can take several minutes when the service is busy. Generate early, and edit while you wait.
When the Edit Cannot Save a Clip
Some clips are beyond fixing. If a face melts or a hand grows extra fingers, no trim will hide it. The generator guessed details it could not see, and the edit cannot invent them back. Delete the clip and try again from a simpler still.
The same applies to a background that bends or a wall that waves. If the background moves when it should stay still, the motion was too strong. Slow it down in the prompt, or pick a still with a plainer background. Two or three tries is normal; after that, use a different still. Some photos animate cleanly, and some never will.
Keep your hopes honest. An ai image to video generator free suits short, simple motion best: a blink, a slow turn, drifting clouds. Fast action, long scenes and detailed faces are beyond it. Stick to what free generation does well, and the finished video will look clean and deliberate.
AI Image to Video Generator Free: Frequently Asked Questions
What does “free” actually cover?
A free plan lets you test the workflow: a few short clips, usually with a watermark and a size cap. Once the credits run out, you wait for a refill or pay. No free plan gives you unlimited clips.
Can I edit clips online without installing anything?
Yes. A browser editor runs on your own device, so there is nothing to install and often no account to create. You drop clips onto a timeline, trim and join them, then export an MP4. Long edits need plenty of memory, because the browser builds the finished video in memory.
How long should the finished video be?
Short. A few seconds per clip, and under a minute in total, suits a feed or a product page. Open with your best moment, and cut the rest.
Do free clips carry a watermark?
Most do. A small logo in the corner is the usual price of a free export. Paid plans often remove it. Check the rule first, so you know what your download will look like.
Can I use the finished video for my business?
Check the tool’s terms first. Some free plans cover business use, while others keep free clips for personal projects only. If the licence is unclear, treat the clip as personal use only.
An ai image to video generator free gives you motion, and the online edit gives you a video. Plan the clip, generate it cleanly, then edit clips online to cut the weak frames, add words and sound, and export with care. Keep the clips short and the motion simple.